
HOW TO APPLY PRESS ON NAILS
with nail glue

VIDEO GUIDE
Watch our video guide to see all the steps you need to take for a flawless application.
Please remember - preparing your nails well is the most important factor in achieving long lasting nails!
Prefer to read instructions?
Follow our step-by-step guide below.

01
Gather everything you'll need
Included with each order you'll find nail glue, a cuticle stick, a nail file, an alcohol nail wipe and a buffing block.
You will also need your own cuticle nippers and nail clippers
02
Trim your nails
Use your nail clippers to trim the ends of each nail, aiming for an even length from side to side. This is important to ensure the best fit for your press on nails.

03
File your nails
After you've clipped them, use the included nail file (or your own) to smooth off the edges.
04
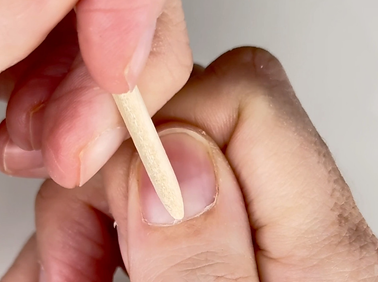
Push back cuticles
Use the included cuticle stick (or your own) to push back any skin that has grown over your nail, and gently remove it.

05
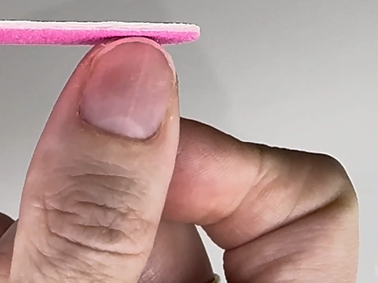
Buff nails
Use the included buffing block (or your own) to gently etch the surface of each nail. This gives the nail glue a better surface to stick to, resulting in a longer-lasting application.
06
Remove dead skin
Tidy up any remaining dead skin around the nails, leaving them looking clean and tidy.


07
Use alcohol wipe
Wipe each nail in turn with the included alcohol wipe to remove any dust or oil from the nail plate.
08
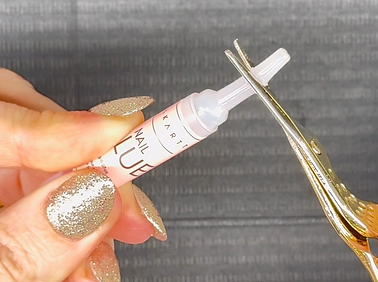
Open glue
Snip off the tip of the nail glue (included) with a pair of scissors.
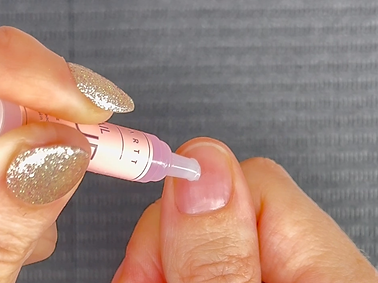
09
Apply glue to nail
Check you know which press on nail is for which finger.
Once you're ready, carefully squeeze the tube of nail glue to apply a couple of drops of glue to your first nail.
10
Apply glue to press on
Apply the same amount to the correct press on nail.


11
Apply press on nail
Hold down the press on nail for 5 to 10 seconds. Gently test the nail to ensure a good fit, and press out any air bubbles between the press on nail and your own nail.
12
Repeat for other nails
Repeat steps 9 to 11 for each nail in turn.

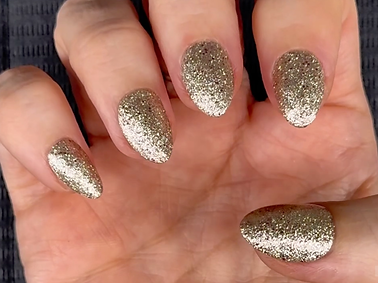
13
Done!
You've now applied your set of press on nails!